Detailing
Paint Correction in Atlanta
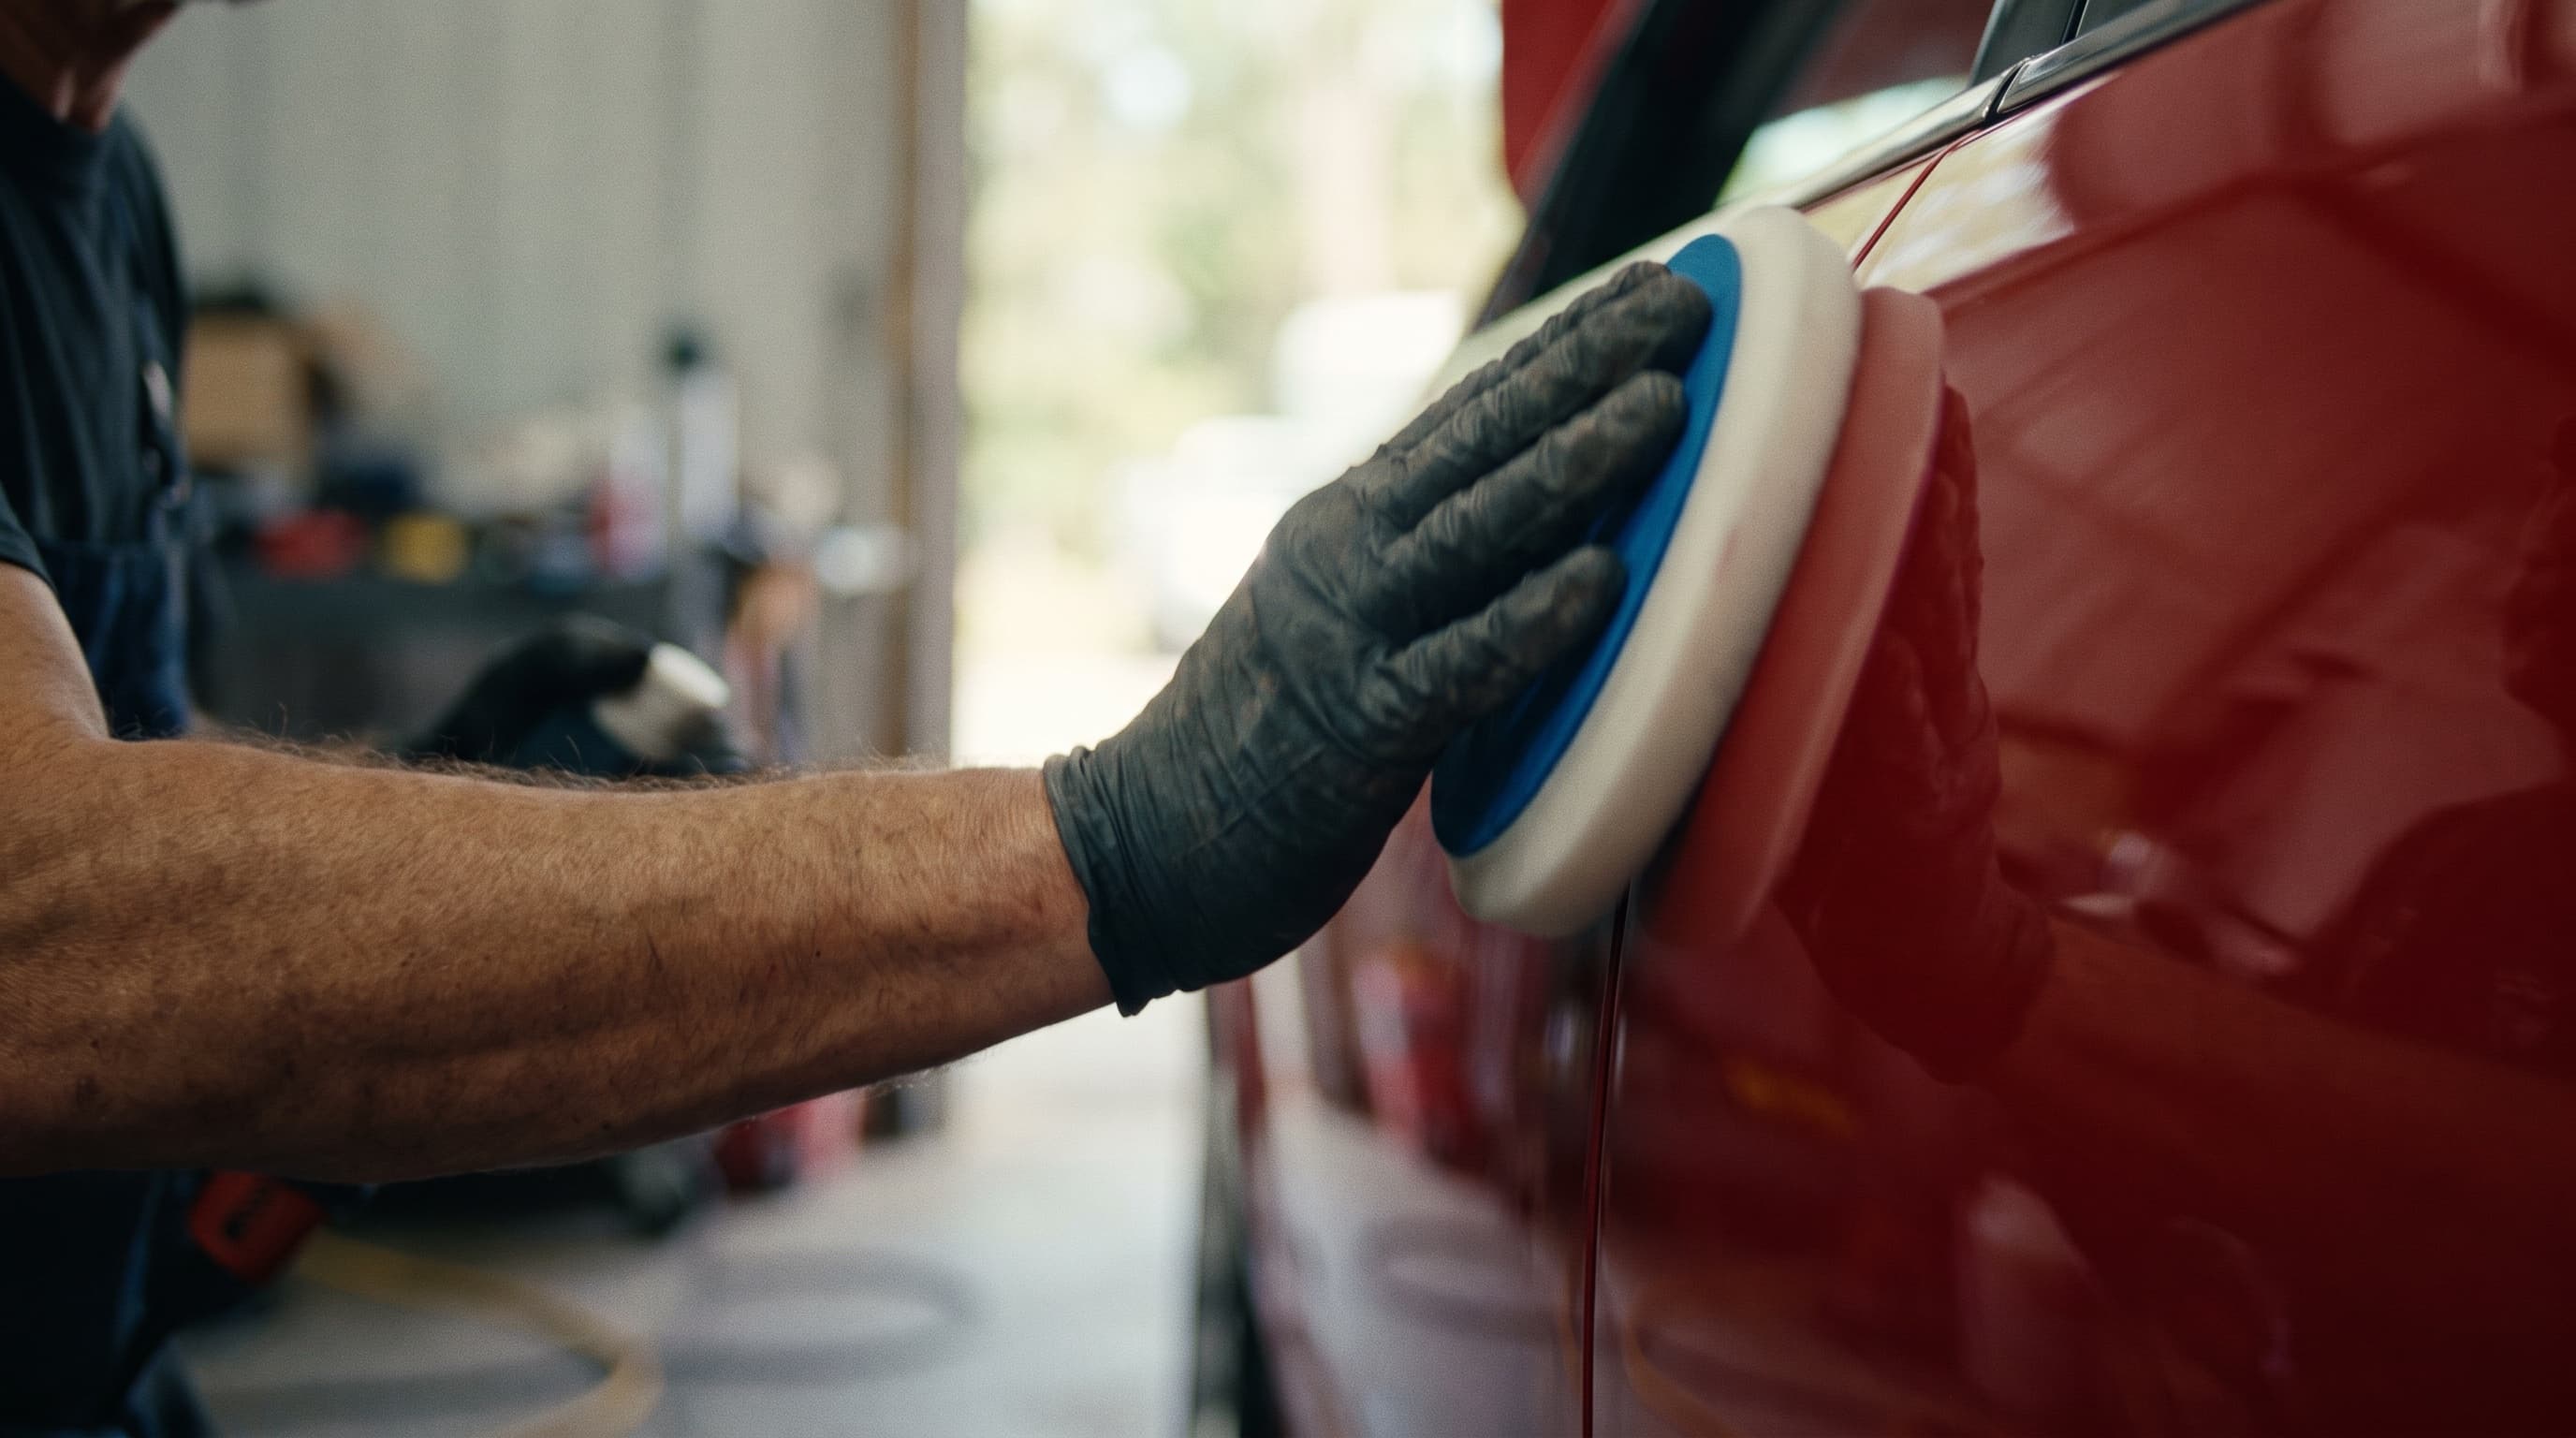
We remove swirl marks, etching and oxidation by levelling the paint, not by filling it. The work is done by appointment at our studio in Peachtree Corners, directly on the Peachtree Industrial corridor.
What paint correction actually is
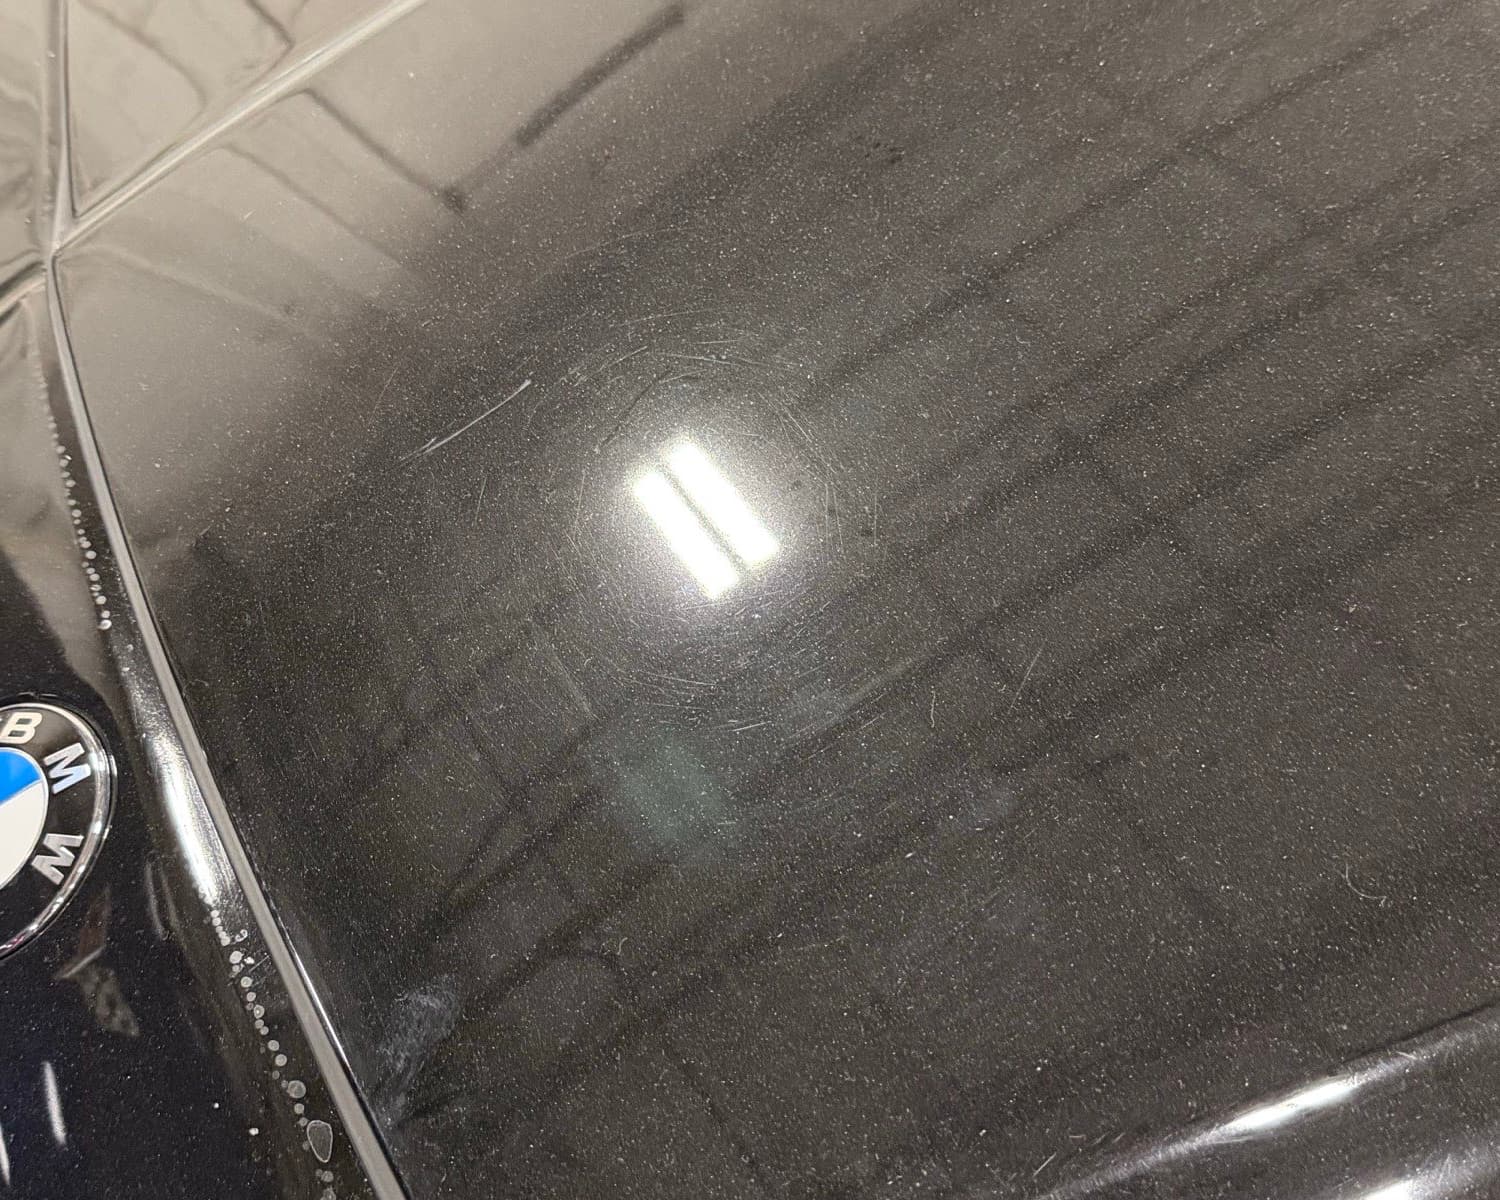
Most modern cars wear a two-layer finish: a coloured base coat, and a clear coat over it that carries all of the gloss. Nearly every defect you can see sits in that clear layer, and nearly all of it is physical — a scratch with an edge, cut into the surface. Light hits the edge, scatters, and your eye reads the scatter as haze, as a spiderweb, as a dull patch that will not wash off.
A wash removes what is sitting on top of the paint. A wax or a sealant fills the scratch with something soft and hides it temporarily, which is why a car can look transformed on collection day and swirled again six weeks later. The filler washed out. Nothing underneath it had changed.
Paint correction takes the other approach. We remove a measured amount of clear coat, in microns, until the surface is flat again and there is no edge left to scatter light. Nothing is filled. The defect is gone because the material containing it is gone, and it does not reappear the next time the car is washed.
That is also where the constraint comes from. Clear coat is finite: a factory panel typically carries 40 to 60 microns of it, and there is no way to add more without repainting. Every correction is a withdrawal from that account. Doing it properly means taking the least that will clear the defect — which is why the measuring matters more than the polishing.
The defect is gone because the material containing it is gone.
Why your black car looks worse than everyone else’s
Dark paint does not swirl more than light paint. It shows what it has. A swirl scatters white light, and white scatter against a black background is maximum contrast, so you see all of it at once. The same defects on a silver car scatter white light against a light background and largely vanish. Owners of black, dark blue and dark grey cars are not unlucky. They are simply the ones who can see the damage that automatic car washes, dirty wash mitts and dry-wiping are doing to everybody.
What we are actually removing
- Swirl marks
Fine circular scratching spread across a whole panel, worst in direct sun. Almost always wash damage — automatic tunnels with recycled brushes, single-bucket washing, a mitt that was dropped and picked back up, or a towel dragged over a dry panel.
- Holograms and buffer trails
Curved, shimmering streaks that follow the arc of a rotary polisher. Dealer prep and volume body shops leave these constantly. They are correction damage in their own right, and they have to be corrected back out.
- Etching
Bird droppings, bug remains and acid rain are acidic. Left on hot paint they bite down into the clear coat and leave a crater or a ring. Caught early it polishes out. Left through a Georgia summer, it can be deeper than the clear coat allows us to chase.
- Oxidation
Ultraviolet light breaks the resin down from the surface inward. On clear-coated paint it reads as a flat, tired haze. On older single-stage paint it goes chalky, and a polishing pad comes away the colour of the car.
- Water spots
Two different problems that look identical. Mineral deposits sitting on the surface wipe away with an acidic remover. Once the sun has baked them in, the mineral has etched a ring into the clear coat and it becomes a correction job.
- Sanding marks
Straight, parallel trails left behind by body shop work that was never fully refined — typically 1500 to 3000 grit, usually under a respray that was polished in a hurry and signed off in worse light than ours.
The process, stage by stage
Every car goes through the same sequence. What changes is how much cutting happens in the middle of it, and that is decided by the readings rather than by the booking.
Inspection under controlled light
The car goes under Scangrip lighting before anything touches it. Sunmatch and Multimatch heads run at different colour temperatures because defects hide selectively — holograms that show under one temperature disappear under another. We photograph what we find and agree the scope against those photographs, not against a description.
Paint depth readings
A gauge is run across every panel and the readings are written down. We are looking for total film build, for panels reading thin, and for the panel reading 200 microns when the rest of the car reads 110 — which means a respray nobody mentioned. These numbers set the ceiling on how aggressive we are permitted to be.
Wash and chemical decontamination
A pH-neutral wash using Koch Chemie Gentle Snow Foam, two buckets and grit guards, because the wash itself is the most common source of the damage we are here to remove. Then an iron remover to dissolve embedded brake and rail dust, and Koch Chemie Eulex for tar and adhesive residue.
Mechanical decontamination
Whatever the chemicals did not lift comes off with clay on generous lubrication. Run a hand across the paint afterwards and it should feel like glass. Skip this and you spend the next two days dragging bonded grit around underneath a polishing pad.
Tape-up
Trim, badges, seals, sensors, cameras and every panel edge get masked. Edges carry the least clear coat on the car and are the first place a machine burns through. Textured plastic trim stains white if polish is allowed to dry in it, and that does not come out.
Test spot
The stage that decides the job. We take one section through the least aggressive pad and abrasive combination that might clear the defects, then inspect it. If it clears, that is the combination for the whole car. Only if it fails do we step up. Every stage avoided here is clear coat kept.
Compounding
The cutting stage. Rupes dual-action machines — the LHR21 across open panels, the LHR75 and smaller heads for pillars, bumpers and tight radii — running Koch Chemie H9.02 on microfibre or firm foam. Dual-action rather than rotary as a matter of course: a rotary concentrates heat and leaves the holograms we spend other days removing.
Polishing and refinement
Compounding clears the defects and leaves its own fine haze behind. A refining polish — Koch Chemie M3.02, then F6.01 on soft foam for the final pass — takes that haze back out and returns the gloss. On dark paint, this is the stage that produces depth rather than just shine.
IPA wipedown
Every panel is wiped down with a dedicated panel-prep solution to strip the polishing oils. This is not housekeeping. Those oils sit in fine defects and make the work look better than it is. Until they are off, nobody — including us — is looking at the true finish.
Final inspection
Back under the Scangrip heads at multiple angles and colour temperatures, checked against the intake photographs. Anything missed goes back for another pass before any protection goes near the paint.
Correction levels
Four levels, and the difference between them is how many refining stages the paint goes through — not how much effort anyone puts in. More stages means more defects cleared and more clear coat spent. Every level is finished with a Gtechniq ceramic coating, included in the price: EXO for 18 months, or Crystal Serum Light (CSL) for five years.
| Single-stage polish | One-step enhancement | Two-stage correction | Full multi-stage | |
|---|---|---|---|---|
| Defect removal | Softens light swirls | 50–70% | 80–90% | 95% and above |
| Typical duration | One day | One day | Two to three days | Three days to over a week |
| EXO · 18-month | $1,100 | $1,300 | $1,850 | $2,150 |
| CSL · 5-year | $1,299 | $1,499 | $2,049 | $2,349 |
| Best suited for | Newer or well-kept paint, and prep before a ceramic coating | Newer cars, lease returns, and cars being photographed for sale | Daily-driven cars carrying genuine wash damage | Collector finishes and paint where the last few percent matters |
Not sure which? Book Single Stage. We inspect at drop-off and confirm with you before any upgrade.
Single-stage polish
From $1,100One machine polishing pass that boosts gloss and clarity and softens light swirls. Ideal for newer or well-kept paint, or as the preparation before a ceramic coating. It is a refresh, not a correction: deeper wash damage needs one of the levels below.
Gloss and clarity, light swirls softenedOne-step enhancement
From $1,300A single combined cutting and finishing pass. It clears lighter swirling and lifts gloss substantially while spending very little clear coat. The right call for a newer car, a lease return, a car being photographed for sale, or an owner who wants a genuine improvement rather than perfection.
Around 50–70% defect removalTwo-stage correction
From $1,850Compound, then refine. This is the level most daily-driven cars with real wash damage actually need, and it is what people picture when they picture paint correction. Isolated deeper scratches will still catch the light; removing those particular ones costs clear coat that is better kept.
Around 80–90% defect removalFull multi-stage correction
From $2,150Three or more stages, worked panel by panel. For collector finishes, for cars being photographed properly, and for paint where the last few percent genuinely matters. Worth understanding before you commit: the final five percent costs more than the first ninety, in hours and in material, and on every car there is a point where the right answer is to stop.
95% and aboveConcours and show-level preparation
Quoted separatelyMulti-stage work taken further, sometimes with localised wet sanding, for concours preparation and show finishes. No two of these cars need the same work, so each one is quoted on its own after inspection and depth readings, rather than at a fixed price.
Quoted after inspectionFixed prices by level, coating included. Concours and show-level preparation is not one of them: it is quoted separately, after inspection. Which level a car needs depends on paint hardness, condition and how much of the finish is original — a black German car with hard clear and heavy swirling is a different job from a light silver car with two gentle years behind it — so the level is confirmed with depth readings at inspection, before any work starts.
Book correction and coating online: choose the coating, then the correction level. More on each coating in our ceramic coating packages.
Collector and classic vehicles
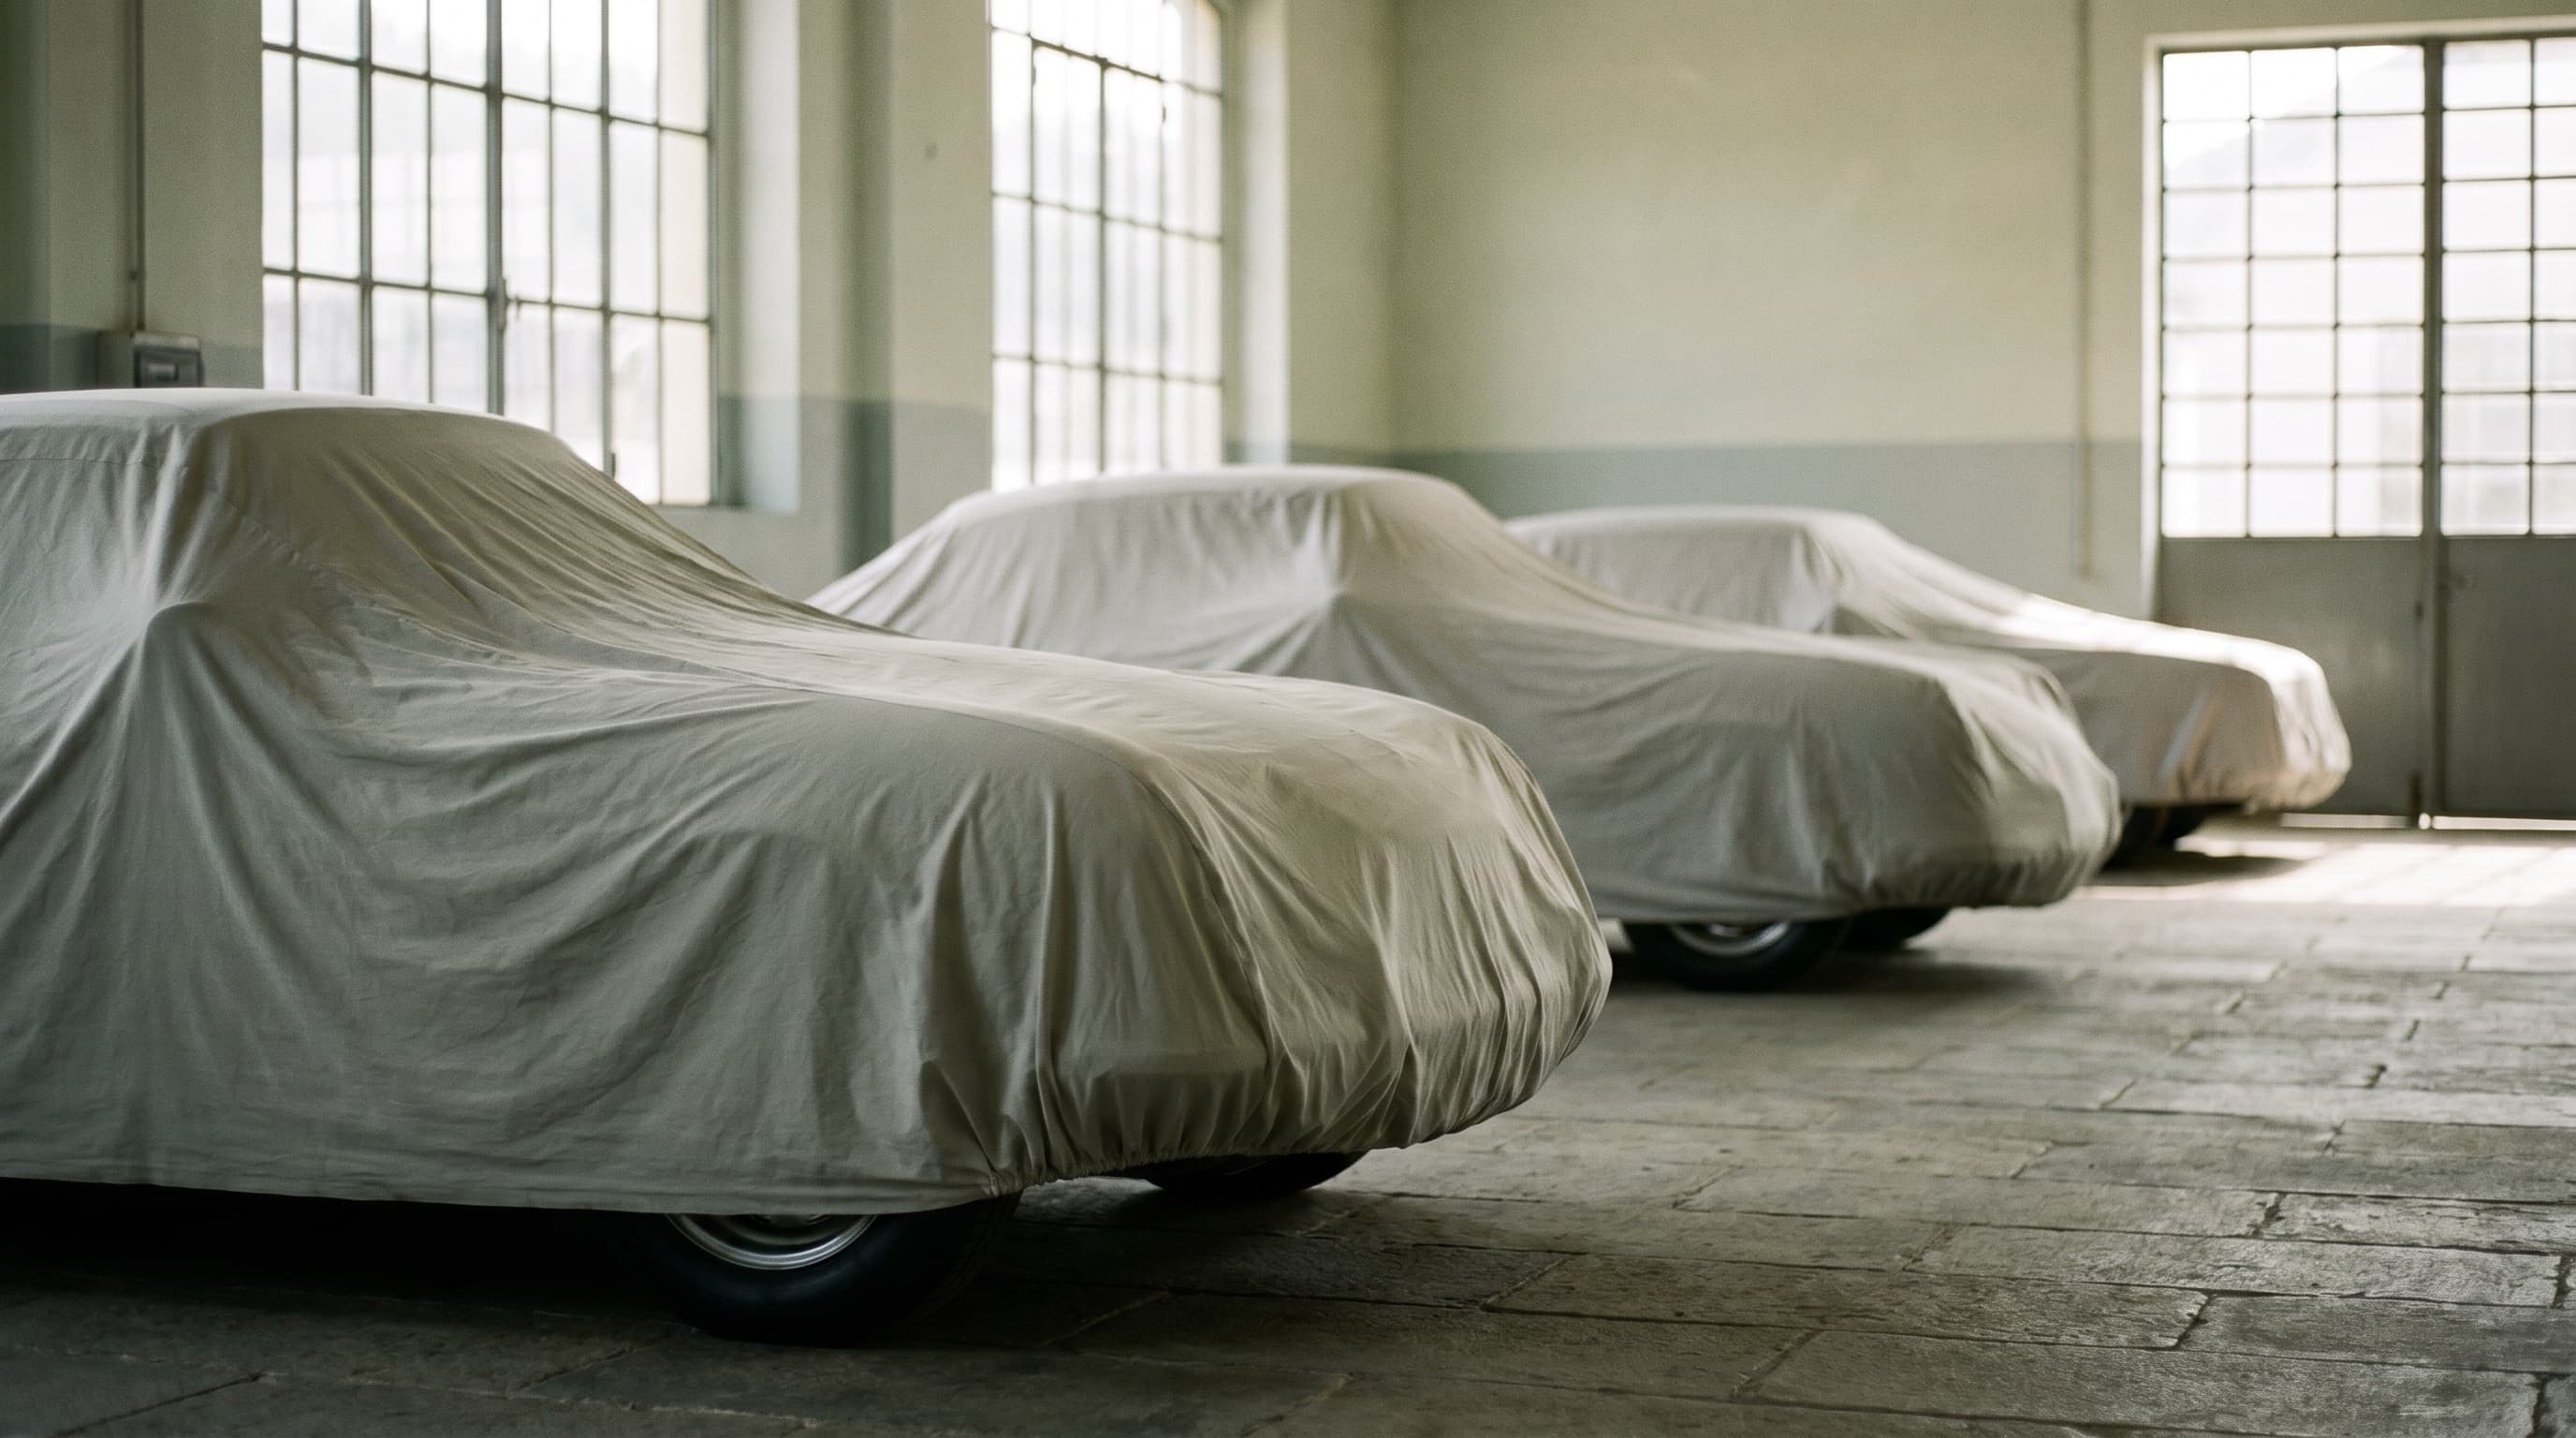
Everything above assumes a modern car with a healthy clear coat. A good deal of what comes through the studio is not that, and on those cars the rules change completely.
Original paint is a value input
On a collector car the finish is part of the provenance, and once it is gone there is no getting it back. A documented original finish is worth more than a flawless refinished one in most markets. That reframes the exercise entirely: the goal is not perfection, it is the least material removed for the most improvement. Sometimes the honest recommendation is to leave a scratch where it is, because removing it costs more in originality than it returns in appearance.
Single-stage paint behaves differently
Cars finished before the mid-1980s often have no clear coat at all — colour and gloss are the same layer. Polish it and the pad comes back the colour of the car, because what is being removed is pigment. It wants finer abrasives, more passes at lower cut, and a willingness to accept a finish that is correct for the car rather than modern. Lacquer in particular is brittle, heat-sensitive, and unforgiving of a machine held in one place.
Film build is lower than you expect
A forty-year-old car may carry 60 to 80 microns in total, and less than that where previous owners polished it every spring for decades. A modern correction budget of a few microns per stage is a far larger fraction of that figure. The gauge is not a formality on these cars — it is the only thing standing between a good result and a burn-through that turns into a respray.
Resprays carry unknown history
A car repainted at some point in its life may have thin panels, over-thinned clear, questionable adhesion, or filler beneath the surface. Readings that jump between adjacent panels tell us where that work was done. We treat those panels conservatively, and we say so before starting rather than after.
When correction is the wrong call
If the clear coat is delaminating — peeling, flaking, or showing cloudy patches that do not shift under different light — polishing accelerates the failure. That car needs refinishing, not correction, and we will say so rather than take the booking. The same applies to a finish already corrected several times with no depth left to give, and to genuine survivor cars where the patina is the point. Not every car should be made shiny.
Protecting the result
Correction leaves bare, freshly levelled clear coat, and the next few hundred miles and the next few washes start marking it again. There are two ways to protect it, and they guard against different things.
A ceramic coating is a chemical layer a few microns thick. It resists etching and makes washing gentler, which is how swirls come back in the first place. It will not stop a stone chip. Paint protection film will: it is a clear urethane layer that absorbs impacts on the front clip, the panels behind the wheels, or the whole car, in gloss or satin.
Either way, correction comes first. Both are clear, and both keep whatever is underneath them for years — so the paint they go over should be paint you want to keep looking at. Our ceramic coating packages include the polish or correction and can be booked online. For a new car, film, a single-stage polish and a coating are combined as new car protection.
Where we work
The studio is on Kingston Court, directly on the Peachtree Industrial corridor — not near it and not a short hop from it. That road is the spine of everything below. Some areas are a straight run along it, some leave it at a named junction, and a few are cross-town trips that never touch it at all.
Correction is multi-day work, so how a car reaches us matters. Anything on the corridor itself is usually driven in. For everything else, and for any car that should not be sitting in traffic, we collect and return by enclosed transport.
The corridor runs past our door — the studio is on Kingston Court, off Peachtree Industrial itself. Cars are handed over in person.
The next stop south along the same road. Close enough that owners often wait on a single-stage enhancement rather than leave the car.
A straight run north-east up Peachtree Industrial with nothing to navigate. Almost everything from here is driven in.
The same road in the opposite direction, south-west toward the 285 junction. The closest of the inside-the-perimeter areas.
Down the corridor until it feeds onto Buford Highway, then south inside 285. Cars here are more often collected than driven up.
Leaves the corridor at Medlock Bridge and heads north-east on 141. Multi-day corrections are usually collected.
A two-road trip: north on 141, then west toward 400. A frequent source of garage-kept weekend cars.
Straight across Holcomb Bridge Road, cutting west between the two corridors rather than following either.
Off the corridor early, west along Winters Chapel. A back-roads run rather than a highway one.
South to where Peachtree Industrial meets 285, then west to the 400 interchange. Collection avoids the commute entirely.
The furthest west we go: 285 past Perimeter, on the other side of 400. Coating work is collected and returned.
From the studio
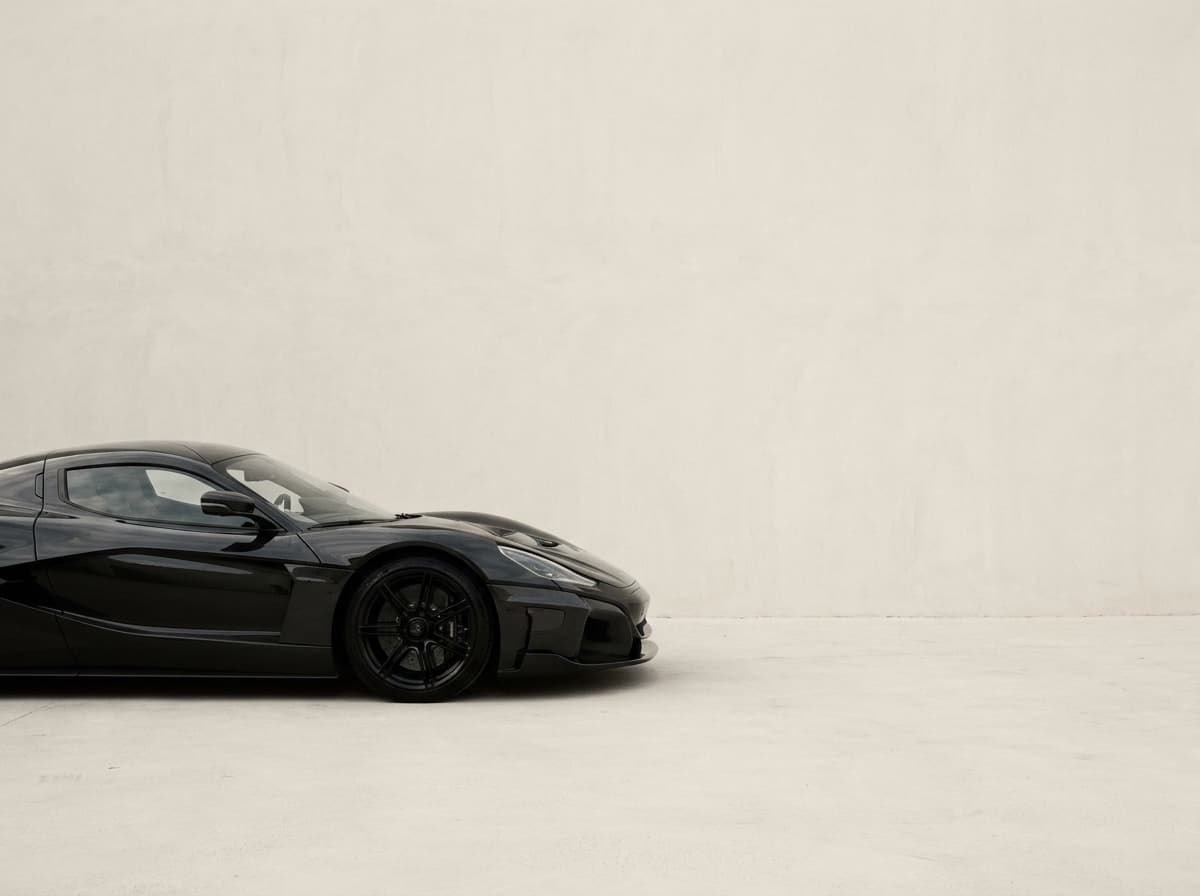
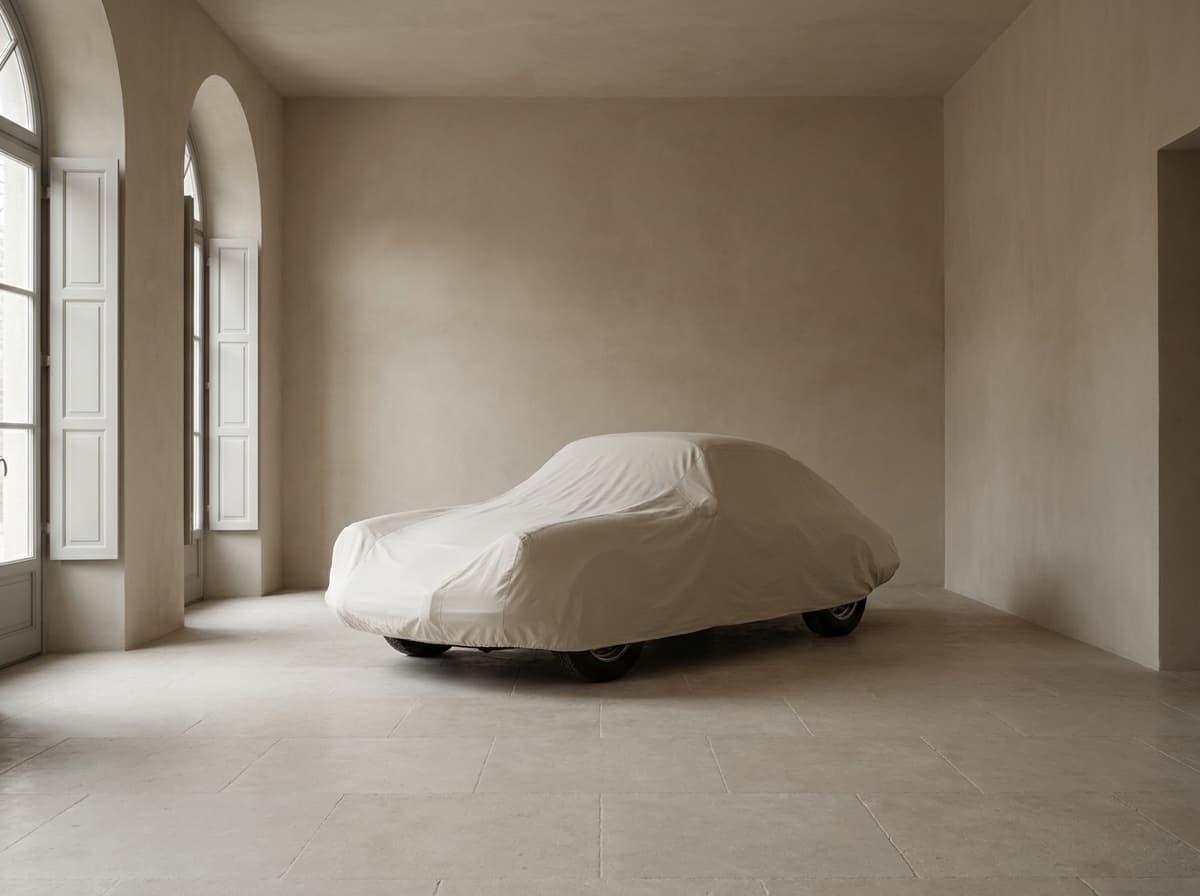
Finished cars, photographed in the room they were finished in.

Common questions
Book an assessment
Tell us what the car is and what is bothering you about the finish. We will take depth readings, show you what we find under the lights, and quote against that. If correction is the wrong answer for your car, we will say so — and if you already know you want the finish protected afterwards, start with ceramic coating or paint protection film.